Log in / Sign in
On this page, you will find comprehensive information about VLOMINGO tuning adapter, including details about its components, proper connection instructions, and the tuning process using the adapter.
The VLOMINGO is a smart ECM harness, similar to a regular bench harness but with advanced features.
Remote programming options used to be impossible through OBD port will come true. EGR delete, wide support of 2014+ trucks and machines, ePRV delete kits support and much much more! It can be used in both ways: on the bench or on the engine (truck/machine). Works with any RP1210 diagnostic adapter.
Download Instructions
Using these links, you can download PDF manuals detailing the proper connection of the VLOMINGO adapter and the tuning process.
VLOMINGO Connection
Follow the steps below to connect your VLOMINGO adapter properly. Review the entire sequence carefully before you begin.
VLOMINGO Tuning Adapter
VLOMINGO is a smart ECM harness, similar to a regular bench harness but with advanced features.
Remote programming options used to be impossible through OBD port will come true. EGR delete, wide support of 2020+ trucks and machines, ePRV delete kits support and much much more!
It can be used in both ways: on the bench or on the engine (truck/machine). Works with any RP1210 adapter.
What’s in the box
VLOMINGO basics
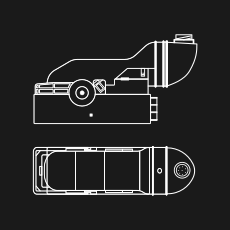
VLOMINGO (1 pc)
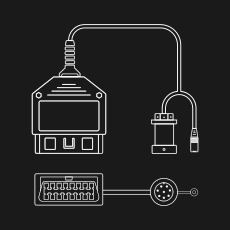
UNO Cable (1 pc)
Three Types Of Power Connectors
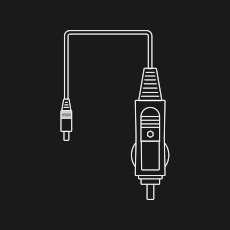
Cigarette lighter power cable (1 pc)
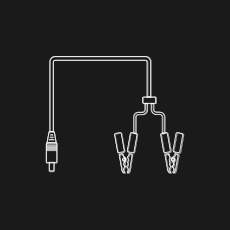
Power cable with battery alligator clips (1 pc)
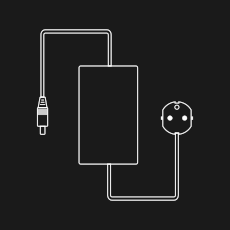
AC adapter (1 pc)
Connection and Tuning
Step 1. The VLOMINGO connection and ECM preparation
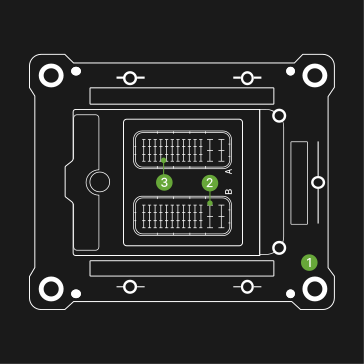
Prepare the ECM 1 for connection with the VLOMINGO 4.
Release sockets (A,B) 3 and 2.
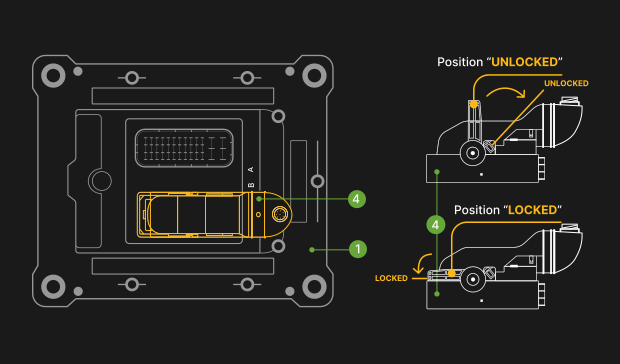
Connect the VLOMINGO 4 to the ECM 1.
Move the lever to the position “UNLOCKED”.
Connect VLOMINGO to the “B” ECM socket 2.
Move the lever to the position “LOCKED”.
Connection and Tuning
Step 2. Diag laptop, RP1210 adapter, and power connection to the ECM
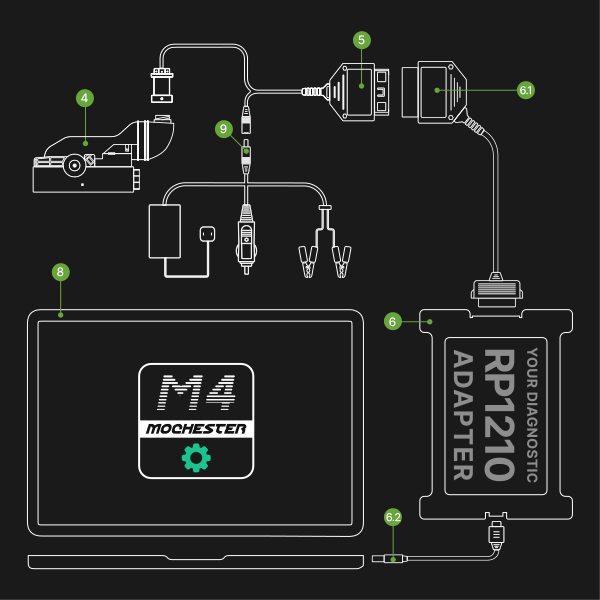
Perform all actions sequentially in the following order:
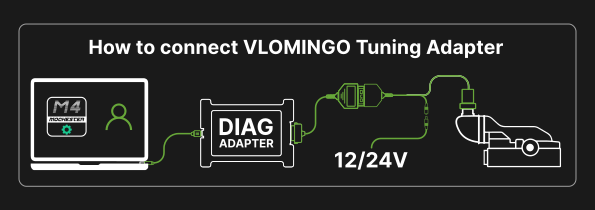
Connect the UNO Cable 5 to the VLOMINGO 4 and to the RP1210 adapter cable 6.1.
Connect the adapter cable 6.2 to the adapter 6 and the diagnostic laptop 8.
Choose the appropriate VLOMINGO power cable 9 and connect to the UNO Cable 5.
Launch Mochester Application on your diag laptop and follow the instructions.
Wrong Ways to Connect the VLOMINGO
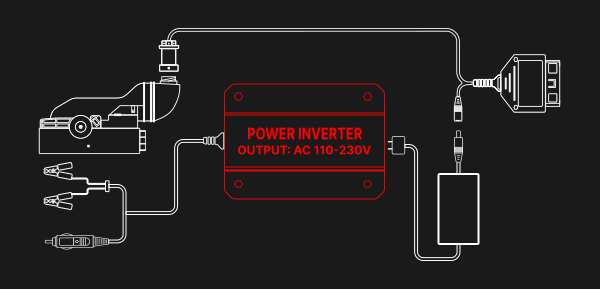
Do not connect the VLOMINGO using the vehicle DC-to-AC adapter.
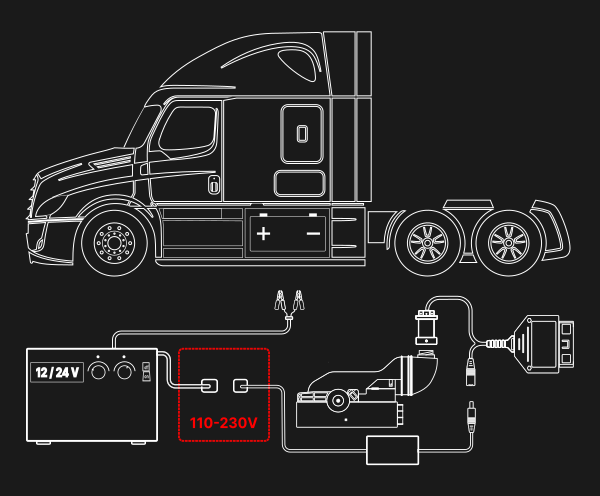
Do not connect the VLOMINGO using the same electricity network as the truck battery charging device is.
VLOMINGO Tuning
Please carefully follow the steps outlined in the manual to correctly complete the tuning process.
Step 1. How to Tune Your Truck with the VLOMINGO
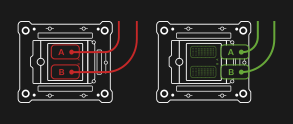
Disconnect both harnesses (A,B) from the ECM/EMS on your truck.
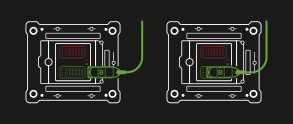
Connect the VLOMINGO adapter to the “B” socket on the ECM/EMS.
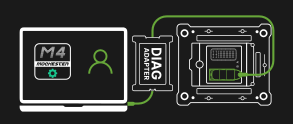
Log in to your account in the Mochester App and make sure the connection to the ECM/EMS module is established.
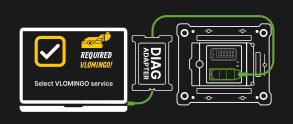
Select services requiring the VLOMINGO Adapter.
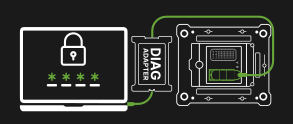
Confirm your order with OTP.
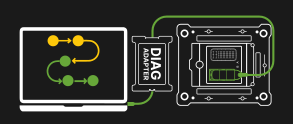
Wait until the tuning process is finished.
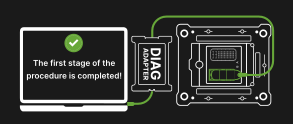
The first stage of the procedure is completed.
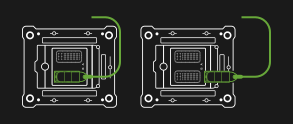
Unplug the VLOMINGO from the ECM/EMS.
Step 2. How to Tune Your Truck with the VLOMINGO
An emission warning message may appear on the dashboard if you skipped. You can proceed with this Step any time later using “Contact Helpdesk” option.
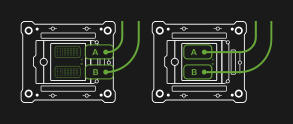
Connect both harnesses (A,B) to the ECM/EMS module on your truck.
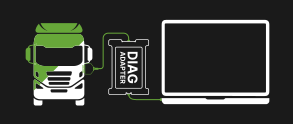
Connect ONLY the DIAG ADAPTER to your laptop and the OBD socket in the cab.
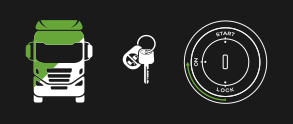
Turn the key to the ON position to continue order processing.
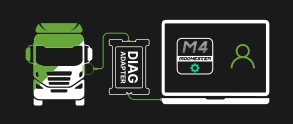
Continue working with the order in the Mochester App.
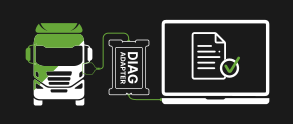
Wait for the order completion report.

Enjoy!
Please view this video to understand how to connect you VLOMINGO adapter to diagnostic laptop and ECU.
Warranty
The VLOMINGO Tuning Adapter is covered by warranty. For full details, please visit the official Drunklab warranty page.